By T. Perry Bowers
If you’re a musician, you need a visual component to your music. It’s not enough to release music alone. YouTube is king. People expect to be able to see what you look like. What’s your image? Are you nerdy or a motorbike gangster? Are you retro or modern?
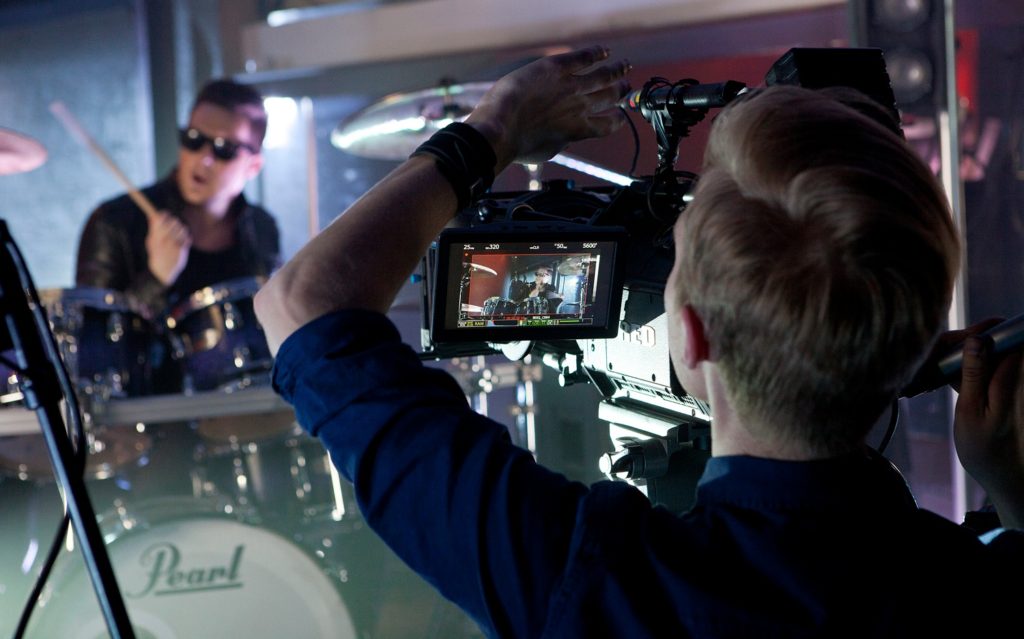
 If you’re lucky one of your band mates is good with a camera and editing software and they won’t charge you to make a great video for your band. However if you’re like the rest of us, you’ll need to hire someone to help you put it together. Here’s a step by step process for making it happen:
Step 1: Concept and Budget
Develop a rough concept for your video before you begin. For example: Do you want to shoot in-studio against a white background? Would you like to be on the top of a building? Is this a concept video? Do you need actors? Do you need more than one location?
Keep in mind every time you add an element, it will take longer and cost more. Even if your friends are acting in the video for free, you will still need to prep them for the shoots. Make-up. Wardrobe. Hair. These things take time.
Sometimes, keeping it simple is the smartest thing to do. One of the reasons we have a cyclorama in our facility is it’s a good clean look and we can shoot everything in one location. Even if you have to pay to rent a studio, it could save you money because it simplifies things. You have everyone in one location, and create one statement.
Step 2: Research your Production Team (or Person)
Once you have developed your concept and considered your budget, you need to find someone (or a team depending on the scope of the project) to work with. The best way to do this is go online and make some calls. Explain your concept and ask for estimates. You might get a ballpark figure over the phone, but probably not an exact quote as videos can be very complex.
A good studio will send you an itemized list of costs. Rental fees, fees for camera operators, studio costs, travel expenses, etc. The more details they provide in their estimate the better. This way, if it’s out of your budget, you know where you can cut your expenses.
The detail in an estimate should also give you a good idea how the video production will work. How many shoots are needed at how many locations? How is that scheduled? Who rents the equipment and who hauls it to the locations? These questions should be answered in the estimate.
Step 3: Pre-Production
Once you’ve hired the right person, schedule your first pre-production meeting. Depending on your budget, this may be the only one you have, so be prepared to cover everything!
In this meeting, you’ll discuss all the logistics of the shoots. By now the concept should be hammered out, so you’ll be talking about how to manifest your ideas.
Who brings the props? Who creates the props? When will the props arrive? Who’s doing make-up?
Create a schedule showing the times people need to show up and how long you predict they will be needed for.
Create a shot list showing when each shot will be taken. If you’re hiring people, this helps cut down their time spent on the shoot, thus, reducing your costs. Try to be as efficient as possible with other people’s time.
Even with all the planning possible, it’s likely people will be sitting around at some point on the shoot. Unexpected things always happen on film shoots, but the more you plan ahead, the more you can avoid the unanticipated.
Lastly, have a conversation about how you want the final product to look. Show the director examples of videos you like. Talk about the editing before you shoot as this informs how the shots are shot and lit.
Step 4: Shoot
By the time the day of the shoot comes around, everyone should know what they’re doing and when they’re doing it. Post the schedule somewhere prominent and include important people’s contact info. You need to be able to contact key people when necessary.
When the logistics are handled properly and in advance, it allows for more creativity. If you, as the artist, are doing most of the organizing, you need to be able to switch into your creative place now.
Creating a good video is all about connecting with your audience. If your mind is stuck in the mundane, it can be hard to connect so create some space for yourself (or yourselves) to sink into the energy of the song.
Your shots are all planned out; execute them with as much charm as you can muster!
Step 5: Back up All Your Shots
Ensure you have enough hard drive space so you can give the director a copy of all the shots and keep a copy for yourself as a backup. Pro films sometimes do triple backups- that’s probably overkill!
At the end of the shoot organize all your memory cards and make easily accessible folders for each set of shots. Back everything up and hand one copy off to the editor.
Pack up. Clean up. Pay everyone. It’s a wrap.
Step 6: Edit
In my experience, the editor (often the director) will want to edit the video on his own system in private. He/she will usually spend a couple days putting it together and send it to you (usually via a private link on YouTube or Vimeo). You can view it and send notes back.
During pre-production, you talked about how you wanted the video to flow and look. So trust the editor. Let him give you a rough cut and then give feedback.
If you’re the controlling type and you need to be in the edit room while the editing is happening, you can. It might be hard to find an editor who is comfortable with that arrangement, but I’ve seen it done. It’s much more expensive and time intensive, so I advise strongly against it. Let the professionals do their work. Let it go until you see the first draft.
Often the rough cut will need a lot of work. Most editors like to give something very rough so that they don’t go too far down a specific path before they know the artist will dig the path they’ve chosen. With a rough cut, editors are looking for direction. Give them feedback, but try to be objective. Take a step back and imagine the video through your fan’s eyes. The more you can let go of details that really don’t matter, the faster the editing process will be and the more successful the final product will be.
Once you’ve gone back and forth a few times, you should be done. Unless the editor misread all of your direction, you can usually get to the final cut pretty quickly. However it really helps to give the editor very specific notes. For example:
- Cut shot of lead guitarist at 2:23-2:38, insert shot of sunset over Lake Calhoun.
- Prefer a different shot of drummer (or another shot altogether) from 1:45-1:56.
After you’ve gone through all of the minutiae you’re ready to take final delivery.
Step 7: Final Delivery
You need to decide in what format you’d like the video to be delivered. I usually take mine in a full HD version and an MP4. There are many different formats. I recommend you research those yourself – frankly, I’m not qualified to discuss.
If you’re aiming for YouTube though, an MP4 is common -and very good quality. If you take a full HD file, you could show it in a movie theater if you had the opportunity. Talk to your editor about the end use of your video. He/She can help you decide what format is best for you.
Some directors will let you take all the raw footage and some won’t. If you want the raw footage make an agreement beforehand. Don’t assume that he/she will freely give up all the raw footage. For some directors, giving the artist raw footage is out of the question. They don’t want everyone to see how the sausage is made, so to speak. Maybe they think you will discover their secret and become as good of a director as them?
For film makers, it’s just a matter of time. They don’t want to spend their afternoon dumping files onto a hard drive and delivering it to you. Some film guys don’t think twice. They give it up freely.
The bottom line: talk about raw footage up front. And, if you want raw, be willing to pay a little extra.
Bonus Tip: Find a balance between doing everything yourself and allocating duties.

